
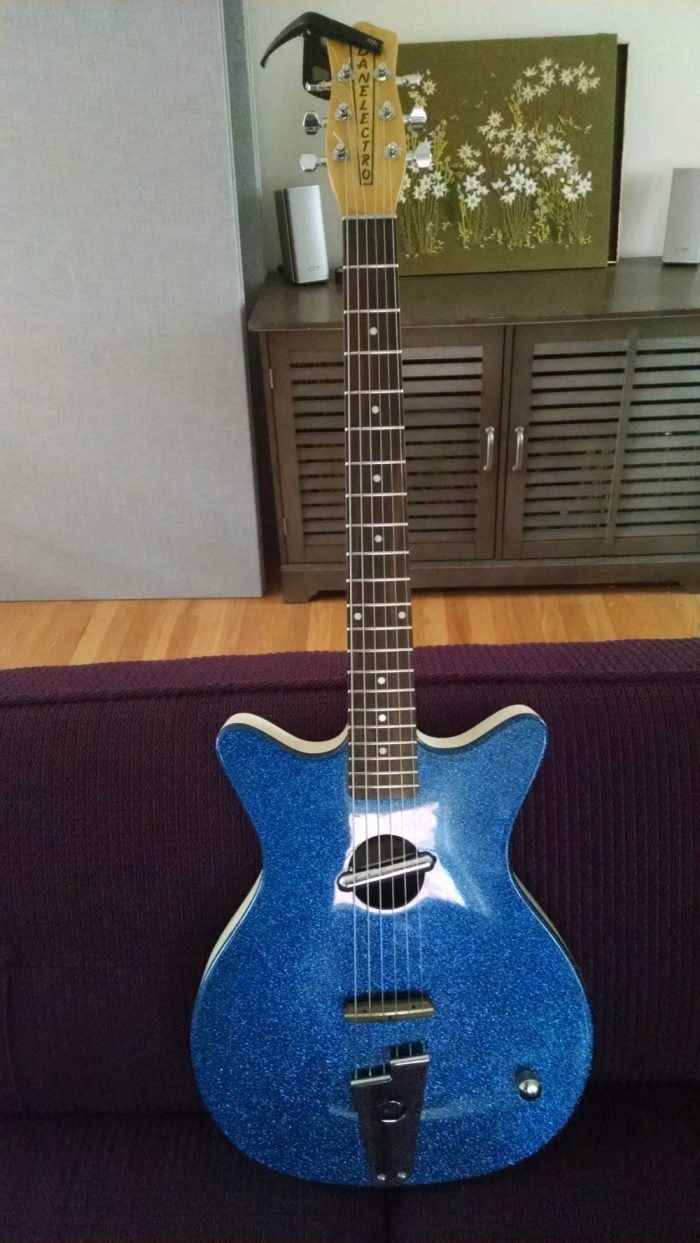
So I like sparkly guitars and decided to buy one. I figured I should get the goofiest thing I could find and so I decided on a Danelectro Convertible re-issue from the late 90’s!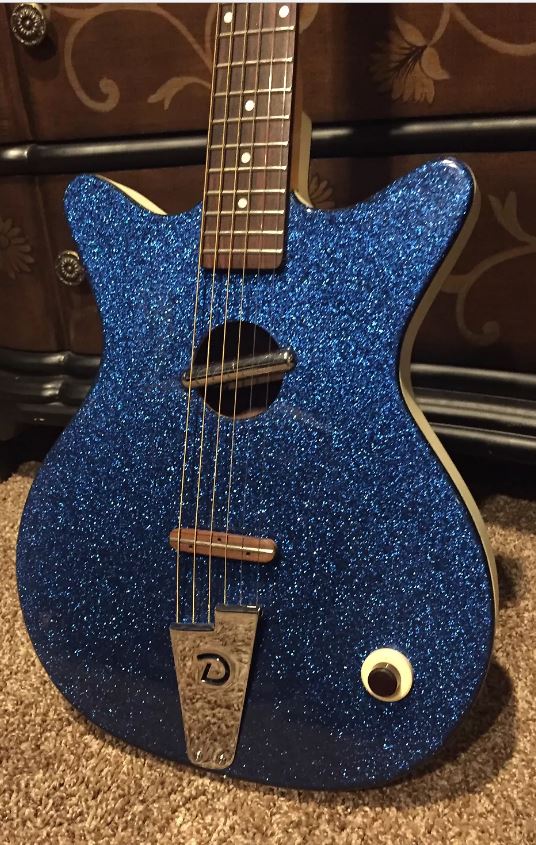
I knew it would have issues…and it did! But fear not, this story has a great ending!
Danelectros are cheaply made guitars but do have some nice features. My convertible has a fantastic neck made of quality maple, but not too thick(good for my playing). The rosewood fretboard is almost a 1/4 inch thick and is also high grade wood. The frets are on the beefy side which I like. You need to remove the neck to adjust the truss rod but, this is easily done and you can loosen the strings but leave them on to do this. The bodies are made of masonite and plywood composites. These materials are nice in that they are stable and tolerate of temperature variation but god help you if they ever get wet! Yes they look cool, but besides the necks, the pickups are the big claim to fame of Danelectros. The lipstick type pickups have a unique sound with a scooped mid range and a very bright high end…probably from having less self capacitance and a lower winding impedance. I don’t actually like the sound for most types of music I play, so one of my primary objectives with this instrument was to get a punchier mid range without making the low end suffer or make it sound muddy. Also contributing to the sound is a tone/volume setup with a dual gang pot and a circuit I did not care much for. As shown in the picture above this is operated via two concentric knobs.
So this is what I did to make this a really well playing and great sounding guitar
1. I took the neck off and did a complete fret leveling and re-crowning. I won’t go into the details of the process here but I just started doing this and have done fret leveling on three guitars – all with stellar results! I highly recommend that guitar players learn how to level and crown the frets on their guitars. There are lots of tutorials on youtube. It is surprisingly easy to do(you need the right tools).It takes about three hours and makes such an improvement if your guitar has uneven frets(likely). You can get everything you need from Amazon..etc.
2. I adjusted the truss rod such that the neck is ultra close to perfectly straight. I did this to get the action even along the neck while allowing for the bridge to be adjusted up higher; so it has more tension across it. It plays better and it sounds better.
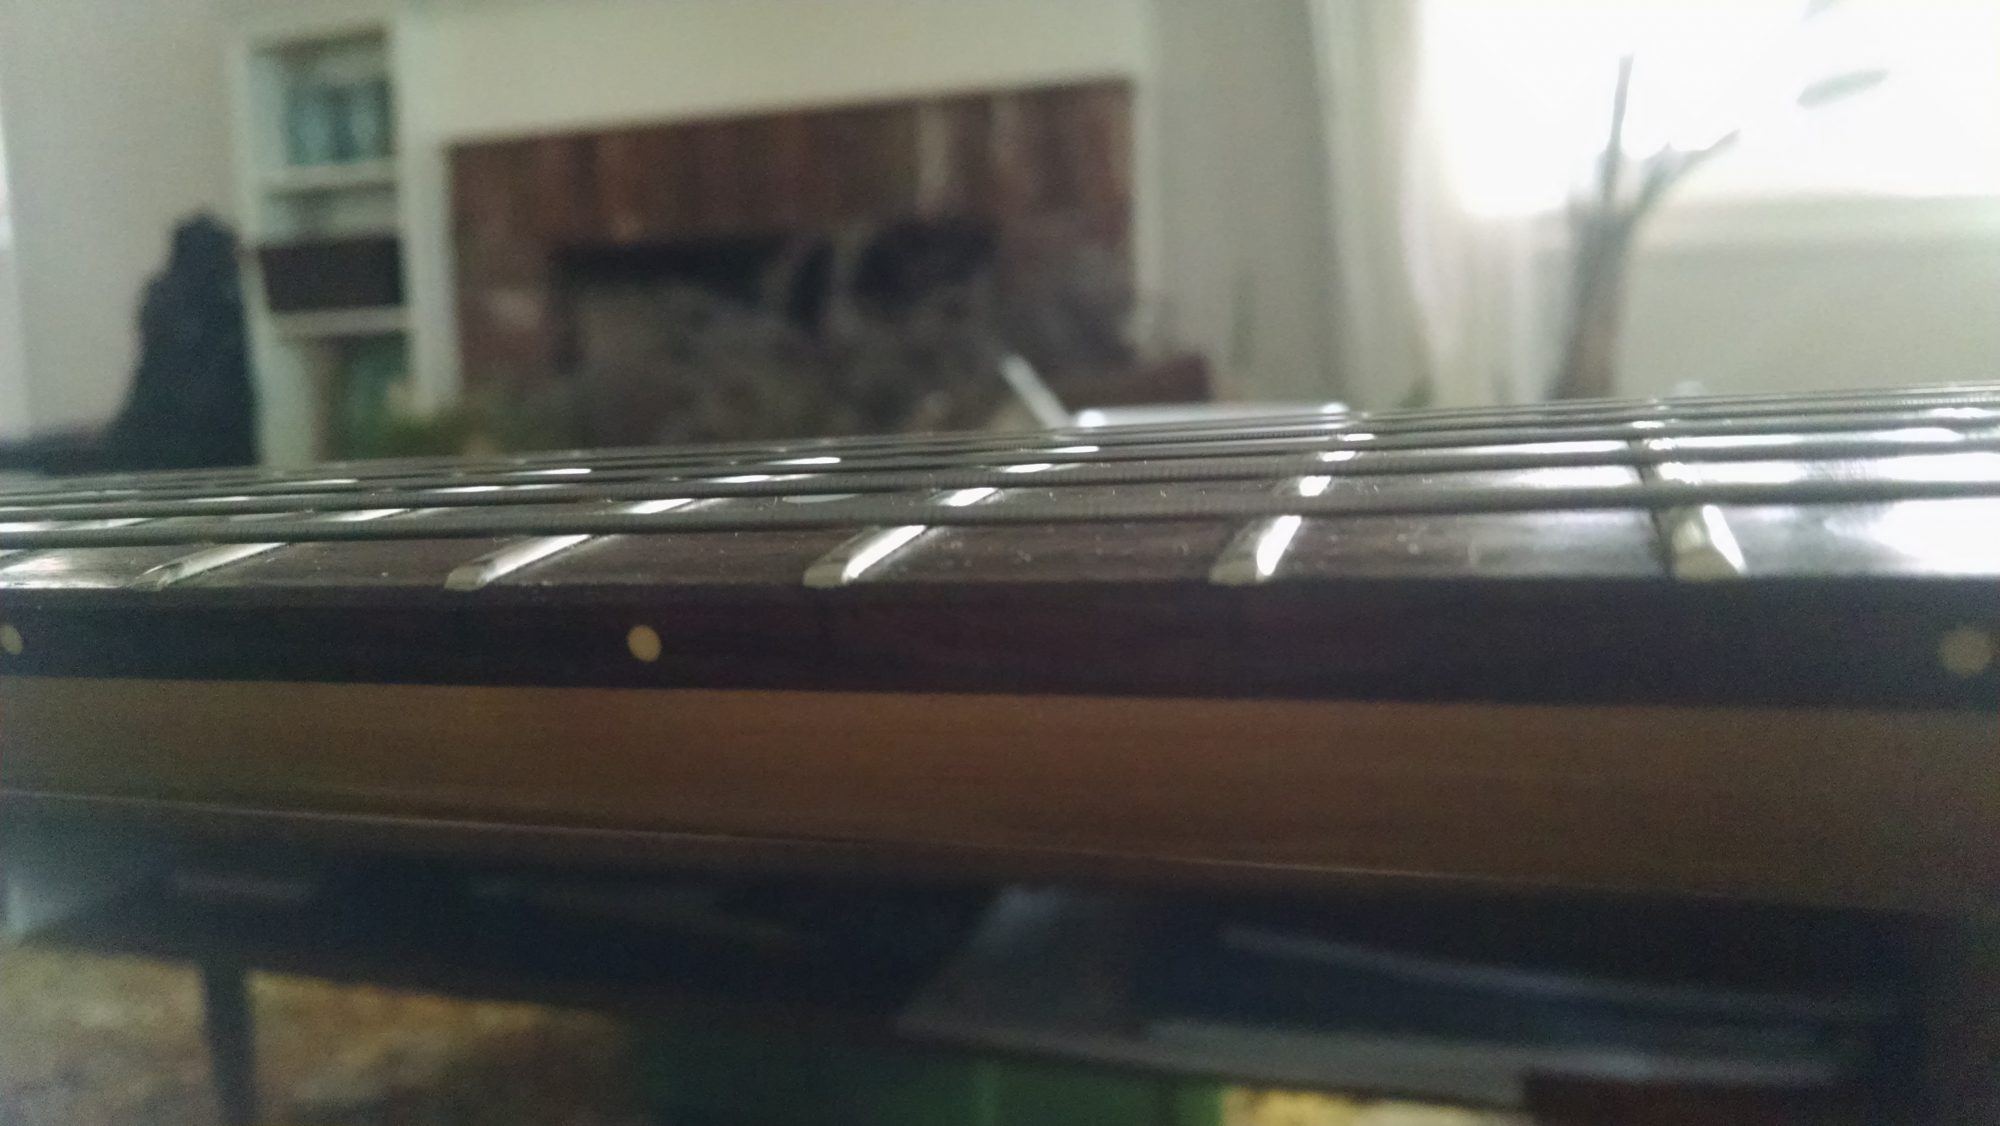
After fret leveling and truss rod adjustment, this guitar plays unbelievably well. This picture shows the action from frets 8-12. It just a little higher than a credit card along the whole neck with no buzzing or weird anything!
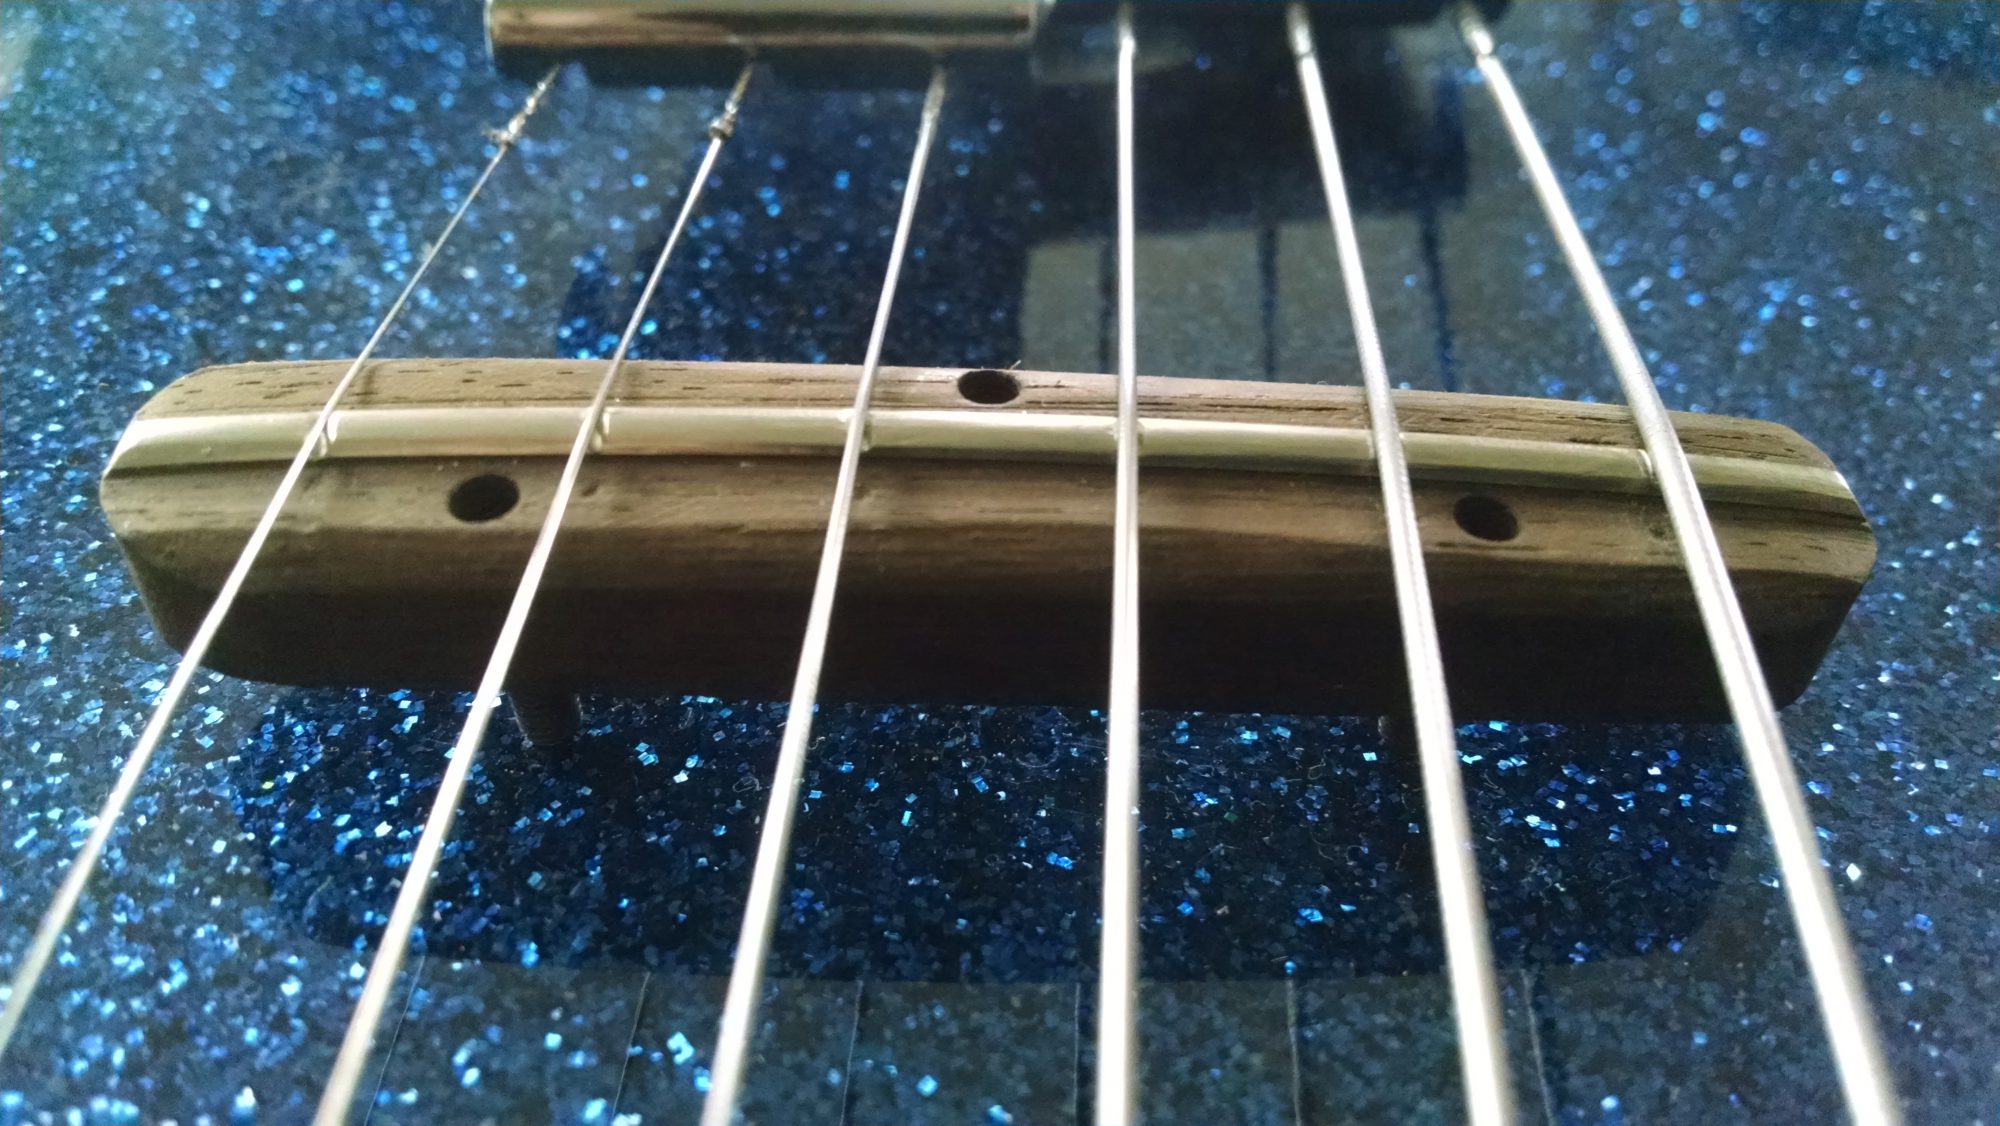
3. Modified the the floating bridge so the strings won’t slide all over the place (problem with these bridges). I simply carved a little notch for each string along the fret wire saddle. Note that I made sure the notch is deeper on the front such that the strings don’t buzz by hitting the front of the saddle when vibrating. I did this with a little triangle and rat tail file.
4. I designed and installed a preamp that is tailored to improve the tone of the pedestrian lipstick pickup that came stock on the guitar. This preamp uses an LMV641 low noise, low power op amp. It draws less than 150uA which is amazing. The Danelectro Convertible has plenty of room to put all kinds of stuff in it, but I just opted to make this tiny amp board and use a A23 12v battery glued to the back of the cover plate. You could use a standard 9v or two 3V coin cells in series, etc. The jack on my convertible was already a stereo jack so I was able to use this as an on/off switch for the preamp. The ring connection on the jack can be use connect the battery to the ground through the guitar cable plug. The preamp has a gain of two which could be adjusted if desired by changing R4 or R3. R6 and C3 replicate the load resistance and capacitance of the volume pot that would normally be present and can be adjusted to alter tone as desired. C2 provides super high frequency roll off for amplifier stability and does not affect the tone. C6 and R3 roll off the high end just a little bit. R3 can be a POT thereby creating a typical guitar tone control. A 10k POT is a good value to use in this case. C6 could be .1, .22 or .47uF depending on taste.
After adding the preamp, the pickup sounds fantastic. It still has the lipstick high end sparkle but with a fatter overall sound. When you turn down the volume, the tone doesn’t change either because the drive of the preamp is not loaded down by cable capacitance.I love it.

This is the preamp with the battery shown in the background. A 9 volt will work also.

Preamp Schematic shown above
5. I Changed to a single volume only control. My preamp has a provision for a tone control but I opted not to use it because I didn’t want to drill another hole in the instrument.
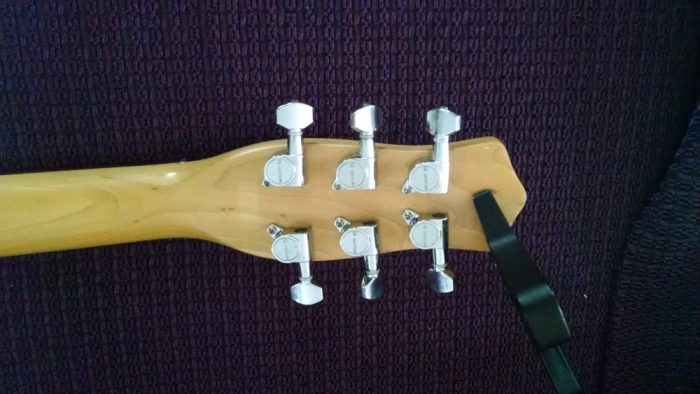
6. The Guitar came with really nice Gotoh tuners(not sure they are original). So I did not have to upgrade these, but this is not always the case. If You have a Danelectro with cheap tuners, change them out!
7. I adjusted the pickup as close to strings as I could. I found this to improve the tone. While it also boosts output, that’s not why I did it.
Completed Guitar
Playing the Danelectro Live
